Trees in the interior of a children's room as a bright stylistic decision
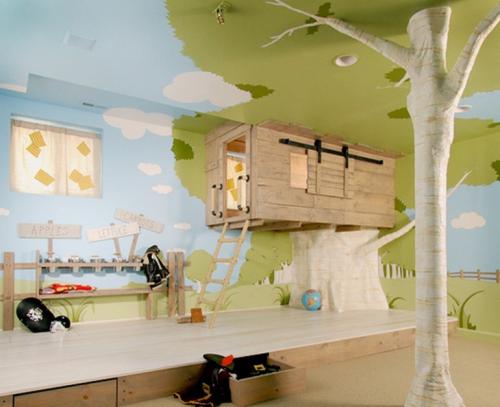
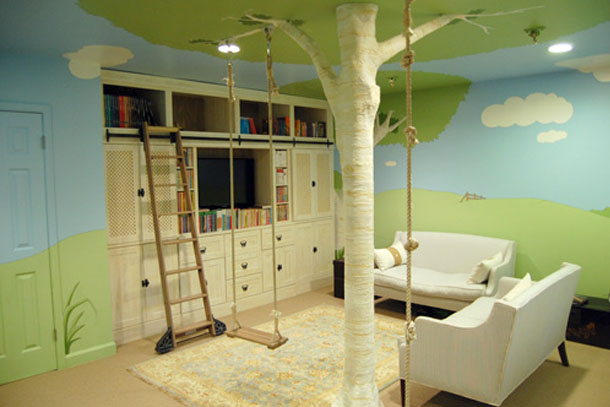
Want to turn your child’s living space into a real fairytale forest? Advice from President Mobility will certainly help you realize any creative ideas. One of the most unusual elements in the design can be a tree in a children's room. It can be placed on the wall as a bright collage or styled bookshelves under the crown of wood. And if the area allows, your child can become the proud owner of his own swing or mini-slide! But first things first.
Trees in the interior of a children's room: wall decoration
Sometimes, to completely transform the room, it is enough to simply give free rein to the imagination. The trees on the walls are a great way to update the interior of a children's room, make it truly unique, and at the same time mask minor surface flaws. And, of course, creating a vivid picture or application on the wall is an incredibly exciting and fun creative process that will appeal not only to adults, but also to children!
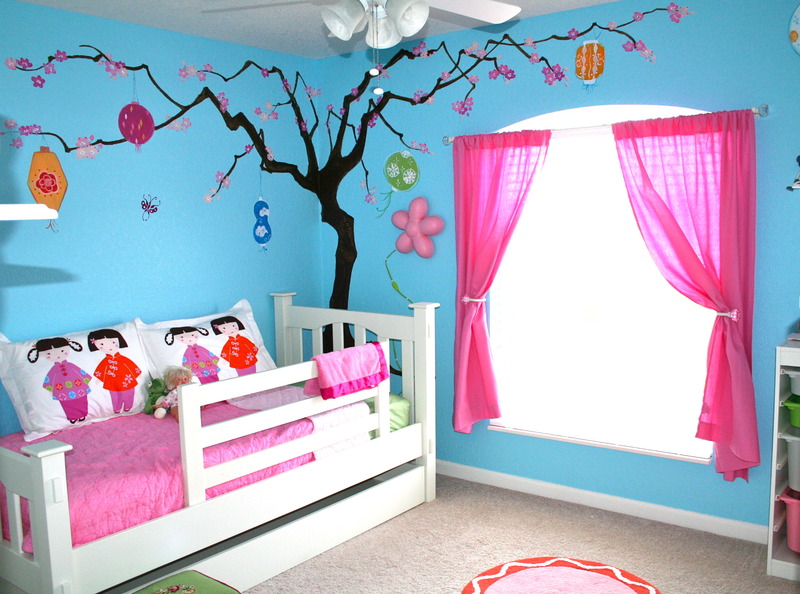
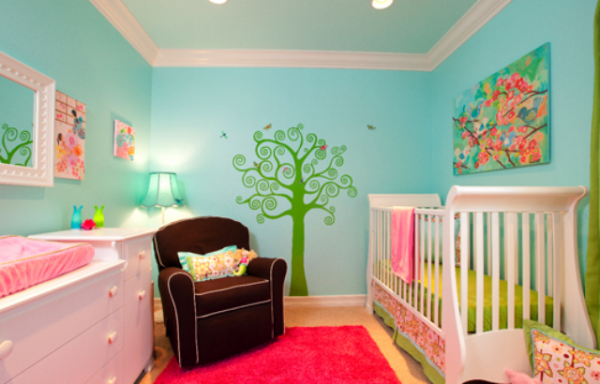
To make the trees in the children's room look neat and harmonious, first you need to sketch them on paper. This will allow you to determine the size, color, details, as well as take into account all the important nuances. The type and shade of wallpaper and textiles, the location of furniture, the level of lighting - all this will be crucial in creating a sketch and putting it into practice.
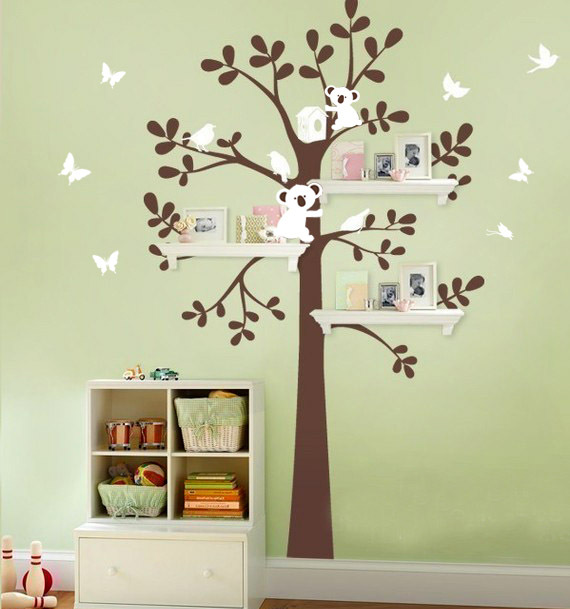
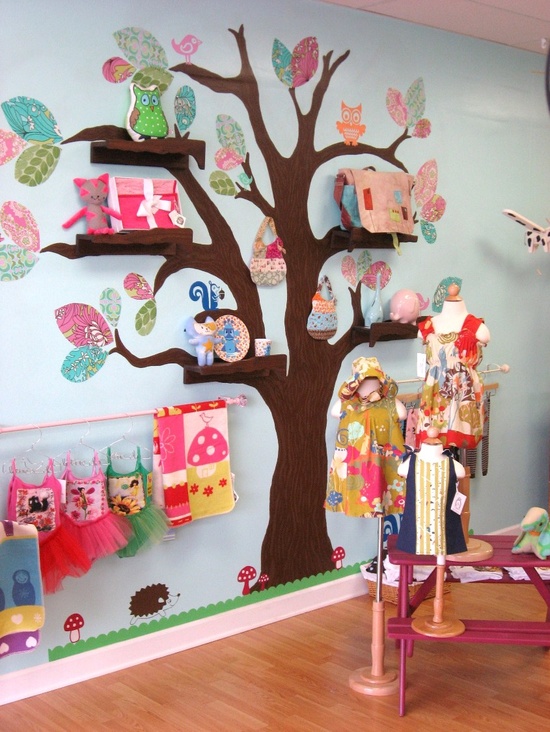
The application or collage on the wall can be made in various ways.
We offer the simplest and most original solutions for arranging decorative trees in the interior of a children's room:
- cut the trunk and crown elements from colored paper and attach them to the wall;
- having drawn a tree outline on the wall, glue real dry branches on it - it will turn out very effectively and unusual;
- soak scraps of napkins with glue and warm water (in equal parts), attach to the drawn contour, and after drying, paint;
- create a tree in a children's room from scraps of dense multi-colored material: linen, burlap, cotton or upholstery;
- glue the foam pieces to the wall and fill them with mounting foam for a volume effect;
- apply the graffito technique: apply several layers of paint to the surface, and then scratch the outline of the tree;
- use a stencil or cut parts from a self-adhesive film: easy and fast!
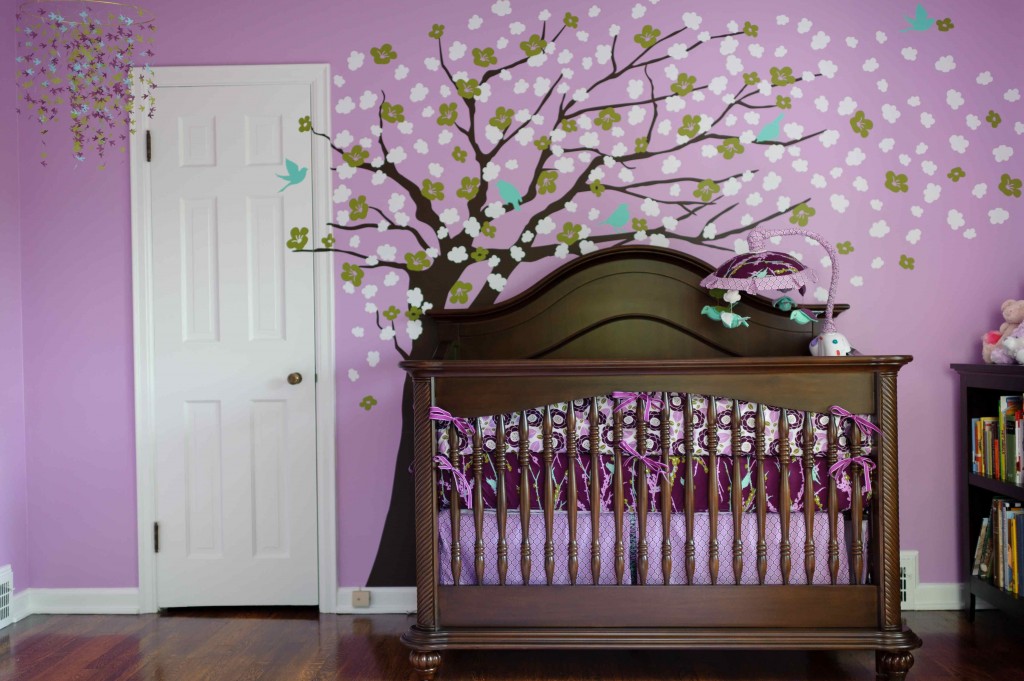
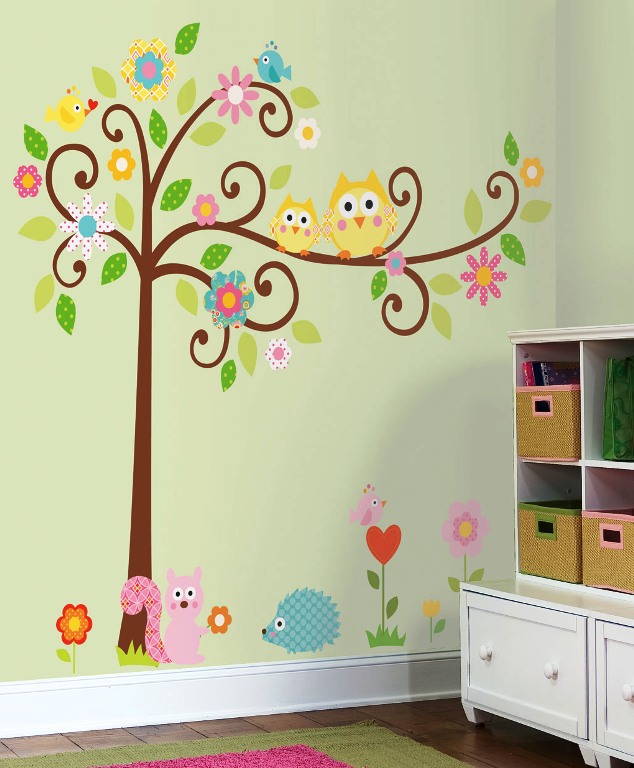
A corner of nature in the interior of the children's room - a variety of trees
Of course, creating wall-mounted collages and applications is far from the only way to make the room interesting and “lively” for a child. Other elements can be easily entered into the atmosphere: for example, an original and practical bookshelf. To do this, you need only a few wooden boards of the same width, fasteners and a little imagination. Draw a trunk on the wall and attach branch-shelves to it, horizontally or diagonally. There is an even simpler way: a hanger for clothes will look great in the shape of a tree in the interior of a children's room. Just attach reliable hooks to the drawn contour and enjoy the result!
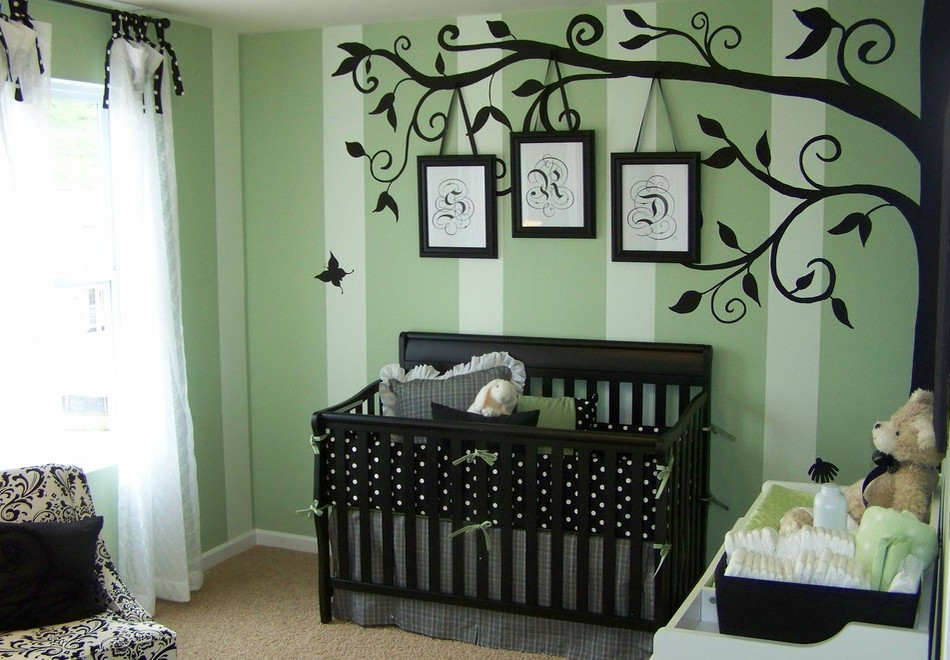
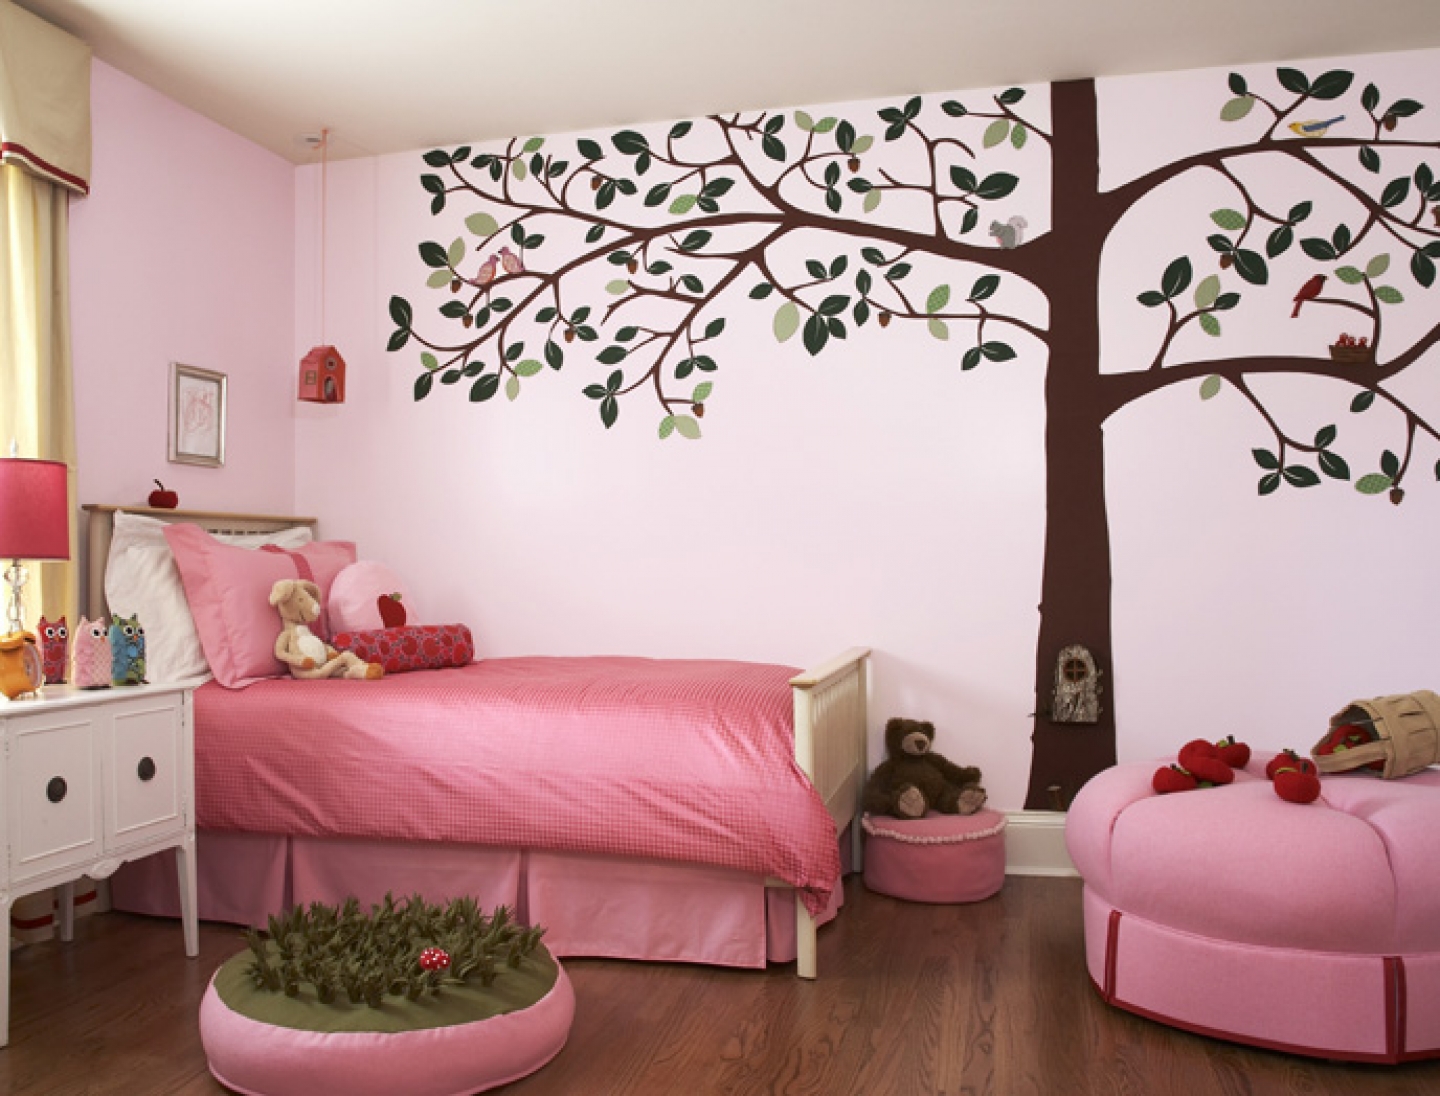
If the size of the room allows, the trees in the interior of the children's room can become the basis for creating a full-fledged sports and gaming zone. In this case, you will need to install complex structures with swings or mini-slides mounted on the floor and ceiling. The main thing is to choose high-quality, reliable modern materials, and the best thing is to invite experts to help you make the space of the playing area as comfortable and safe as possible.
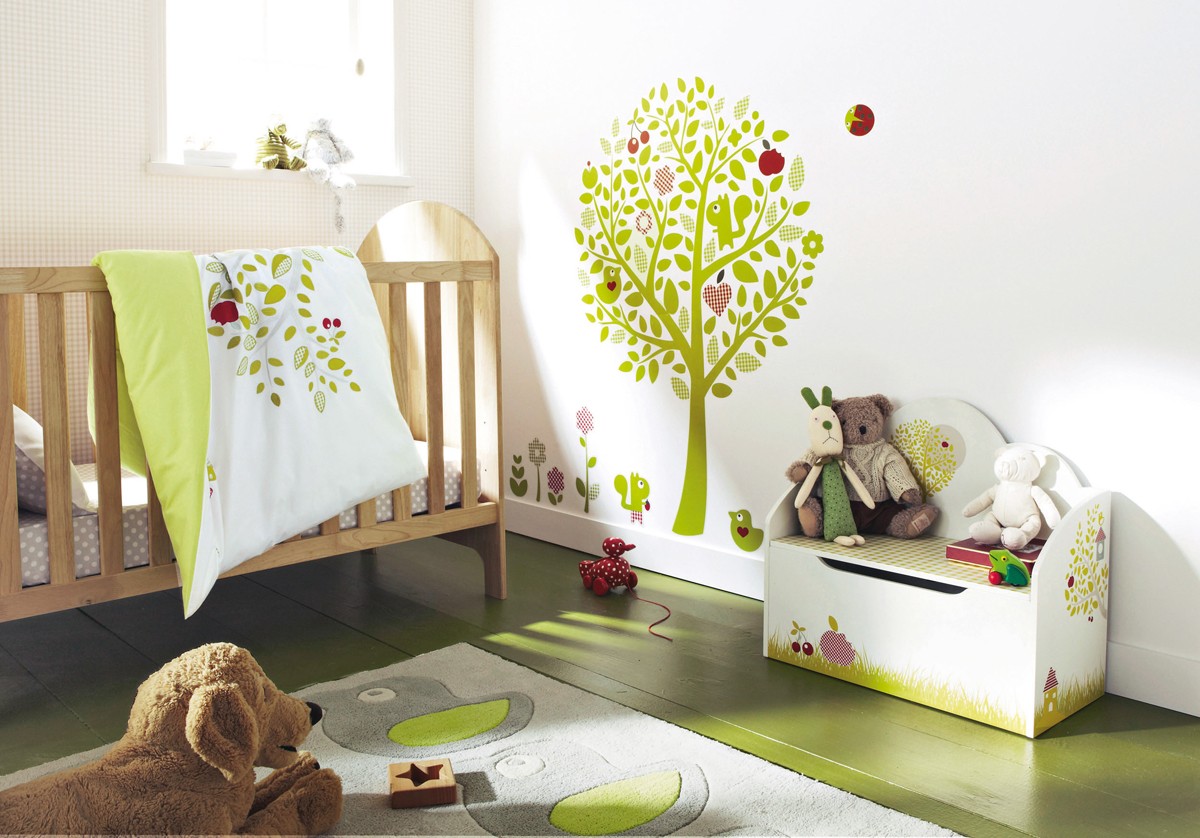
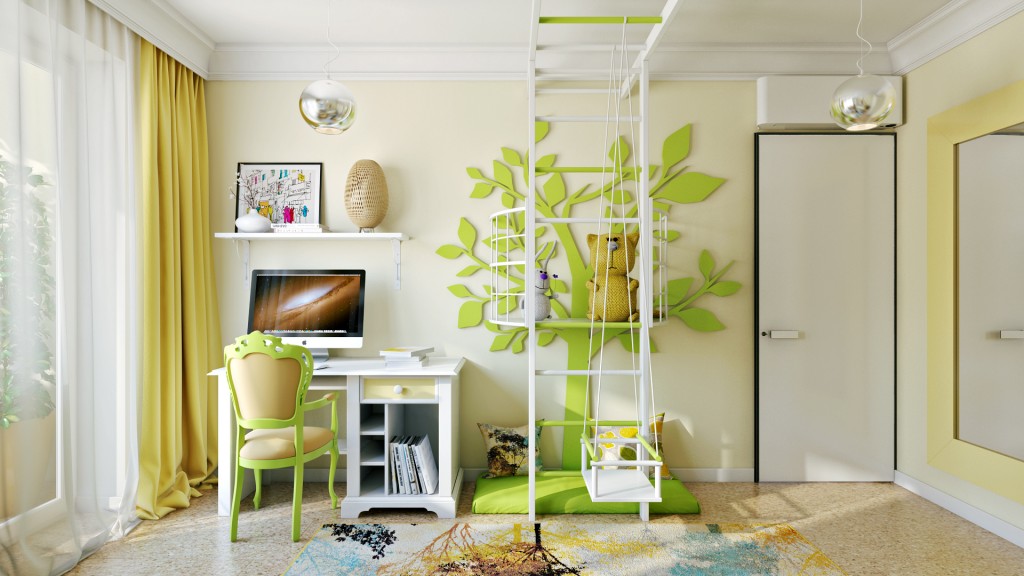
And of course, do not forget about living plants in a room for a child! They allow you to make the air clean and fresh, add comfort and teach kids from an early age to take care of nature. Just place a pot of Kalanchoe or lemon tree, violet or begonia on the windowsill. They will soothe the baby with their aroma and create a healthy microclimate in the room.
The trees in the interior of the children's room are bright and original decorative elements with which you can decorate the space and reveal the creative abilities of your child!
Today, individuality and originality are increasingly appreciated, in our age of free creativity, everyone is trying to create in his life something unique, exclusive. Many direct this desire to home improvement: they mix different styles, experiment with colors, shapes and materials, invent new, creative design ideas. Therefore, quite a lot of ways have already accumulated that require a creative approach for implementation. One of such methods that allows you to bring originality to the interior is a tree on the wall.
This is a very fashionable reception today, which allows you to transform any room in the apartment, whether it is a kitchen, living room, bedroom or children's room. In fact, there are many techniques, tricks to create a tree on the wall. It should be noted that in this way it is possible to transform any interior into most styles and for this it is not necessary to start serious repair work. Let's take a closer look at the ways that will help to do this. And also consider the ideas of functionality, in this creative approach in interior design.
Do-it-yourself wood tree on the wall
Of course, before starting work on creating an image or volumetric tree on the wall, in the interior, it is worth deciding on what size, what shape this tree will be. At the same time, it is worthwhile to rely on the design features in which the room is decorated: first of all, you need to take into account the style, color of the walls, the degree of lighting, furniture, etc.
Tree on the wall in the living room photo
The image of a tree on the wall
This is the easiest way, since in the end we will get a flat image of a tree on the wall in the interior.
- Paints, chalk or pencil - this is the main material and at the same time a means by which the tree will be created. The only difficulty is that before applying the image to the surface of the wall, it is worth practicing on paper, because the artistic skill here will be needed more than ever. An image of the future image is drawn on the album sheet. And then, when you train, you will practice an artistic skill, you can start drawing on the wall.
- The second way - the outline of the tree can be cut out of paper, for this, wallpaper and other large-format paper are suitable. To do this, a tree outline is drawn on it, and then it is painted over with the necessary color if necessary, well, then it is cut out and glued to the wall. At the same time, self-adhesive wallpaper or film will greatly simplify the task, a large palette of colors will help you with choosing the right option. Also, such a tree can be cut from ordinary magazines, though a whole tree cannot be cut, so it will be possible to cut a lot of its parts, and then on the wall from shreds and you can put together the whole composition.
- A similar method is used when using fabric from the desired color of the fabric, the image of the tree is carefully cut out and glued to the wall. It is better to use a denser fabric, it can be burlap, furniture fabric, cotton, etc. And if you correctly assemble the image of a tree from different fabrics colors, you can get a very interesting and creative composition.
- In order to simplify the application of images on the wall with paints, you can use a stencil for wall decor. For its manufacture, you can use thick cardboard, or replace it with dense wallpaper. Previously, the tree is drawn on this paper. and then cut out. After the stencil of the tree on the wall is ready, we fix it with molar tape on the surface and you can proceed to fill the stencil with paints.
Try to create an image of a tree with unique elements of branches and a trunk, because in nature there is nothing 100% identical.
All of the above methods of applying a tree image to a wall can be supplemented with elements such as leaves, birds, animals, butterflies, children on a swing, and much more. This will help to bring brightness, originality and more life to the interior.
The image can be applied to any part of the wall, and by the way it is not necessary to depict a whole tree. Sometimes it’s enough to depict a crown, or even the middle part of a tree or a branch hanging from the top. But no less effective will look a full-sized tree leaving the crowns on the ceiling.
A separate item can be identified ready-made options for wood on the wall - today there are vinyl stickers on sale. This is the easiest way, since it does not require any creative abilities, just select the appropriate sticker and stick it in the right place.
Volumetric tree on the wall
This is a more advanced option, since the wall will not just have an image, but a voluminous figure. An ideal option would be a real tree. Today it is very fashionable to place in the interior near one of the walls, either a whole trunk with branches, or just branches, it can be birch trees, larch, oak or another tree.
But in order not to harm nature, you can use alternative options. A volumetric image of a tree on the wall can also be built using improvised materials.
- If stocks of polystyrene are available, then this is a great opportunity to cut wood from it. Separate parts are cut out of the foam pieces, and then simply stick to the wall.
- The following method is no less exciting, it will require a thick thread or yarn, stationery buttons with a long leg. The buttons are stuck into the wall along the contour of the future tree, and then the thread is wound in a certain sequence, thereby we get the image of the tree, and this is a very original method.
- Imitation of wood on the wall can also be done with toilet paper. It must first be moistened in water, after it acquires a fairly mild state, the necessary figure is fashioned from it.
- Gypsum will be a more professional material, this is an excellent option for sculpting, because it is very widely used for interior decoration. Stucco molding from gypsum today has turned into real creativity, whole works of art are created from it by experienced masters.
Plaster decorative tree on the wall
Functional trees on the wall in the interior
In addition to the aesthetic function, the trees on the wall in the interior can carry practical properties. So for example, you can design a system of shelves, in the form of a tree image. They are usually made from particleboard or MDF. A lot of little things can easily fit on such a tree: books, figurines, toys, watches and much more.
To ensure that shelves on the wall are not very striking, they can be fixed just at the place where the tree branches are located.
Trees on the wall in the interior photo
If you attached a real tree to the wall, then on its branches you can easily place hanging household trifles, jewelry, a needle box and more. And sometimes larger things, as in the photo below.
To have a tree on the wall today, as you see, is not only modern and beautiful, but also very practical. Creative approach to interior decoration is very much appreciated today, because in this way you can create a truly unique atmosphere in the interior.
Wall painting - tree photo
Decor - tree on the wall photo
We present to your attention the creative idea of \u200b\u200binterior design - the creation of a family tree with photos. You can simply decorate such a tree with your favorite paintings - here everything will depend on your preferences. Some skills can be learned at a drawing school.
To draw on a tree wall you will need:
Acrylic paints;
Brushes number 15, number 8 and one wide (of any quality, synthetic can be);
Sponges (foam);
A simple pencil / marker that is easy to erase.
We draw a tree on the wall step by step:
So, initially you will need to paint the walls in the desired color (in this case, a warm and cheerful orange). If the walls were painted a little earlier, then first wash them with a wet rag. Cover the floor with newspapers.
Now think over the final look of the finished tree and decide how you will design it. Draw a sketch on paper. It is advisable to try to make several options. Then transfer the picture to the wall with a pencil (do not forget to check its abrasion from the walls). You do not need to thoroughly draw every element of the tree, but it’s easier to depict the main branches and lines of the trunk, the rest can be finalized in the process.
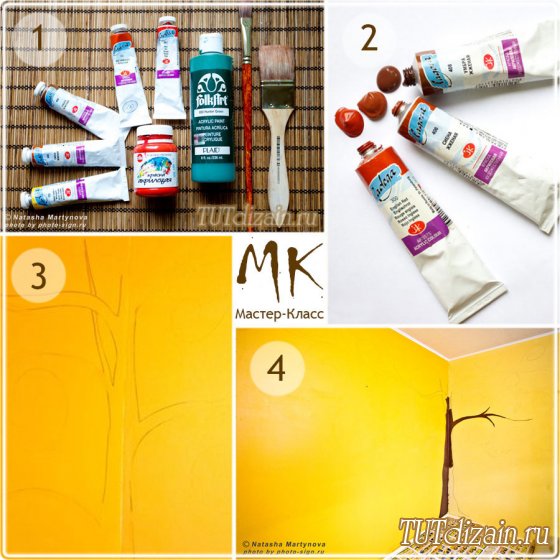
In order to obtain a dark brown color, you can mix green and red paint (for a tree with a photo, it took 2 cans of 100 ml each). It is advisable to start coloring with a tree trunk. All defects can be easily erased using a sponge (within 2-3 hours). Also in the process, you can modify the branches by carefully erasing the pencil sketches.
After you draw the branches, think about the location of the leaves, birds, etc. In this case, the tree was decorated with photo frames, so it was decided to do only leaves. To paint finer details, use the appropriate brushes.
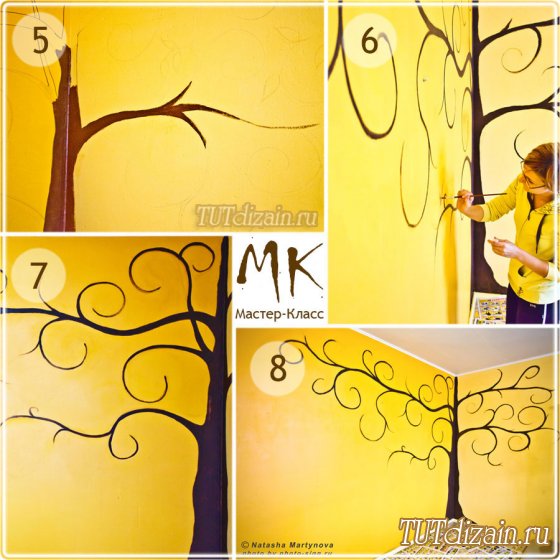
To give volume to the top, the barrel was covered with copper-colored acrylic paint. Here the tree was depicted on two walls, due to which the space was visually rounded and became much warmer and more comfortable.
